Auto-number control
Numerous items within Enrich are automatically numbered, e.g. work orders,
purchase orders, etc. You can add or delete items from automatic numbering,
identify allowable ranges of numbers, and view the next number that will
be assigned.
- At the EMMS main menu, select Administration
| System | Auto Number Control. The Auto-Numbering
Control change screen appears.
- Click Add
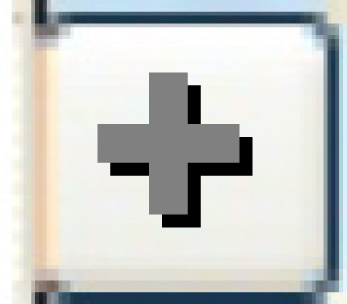 .
The Auto-Numbering Control
add screen appears.
.
The Auto-Numbering Control
add screen appears.
- Fill in the fields as required.
- Click Enter
 to save the information.
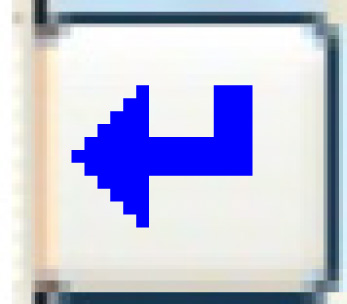
- Click Change
 to return to the Auto-Numbering
Control change screen.
to return to the Auto-Numbering
Control change screen.
- To work with authorized ranges for a transaction type:
- Right-click on the header type and select Authorized
Ranges. The Authorized
Number Ranges change screen appears.
- Click Add .The Authorized
Number Ranges add screen appears.
- Fill in the fields as required.
- Click Enter
to save the authorized ranges.
- Click Exit
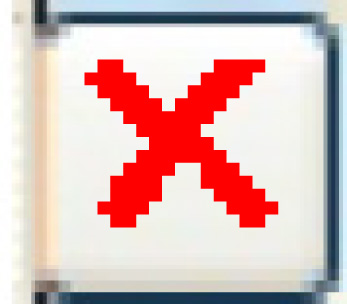 to return to the Auto-Numbering
Control change screen.
to return to the Auto-Numbering
Control change screen.
- Click Exit to return to the menu.
Back to System